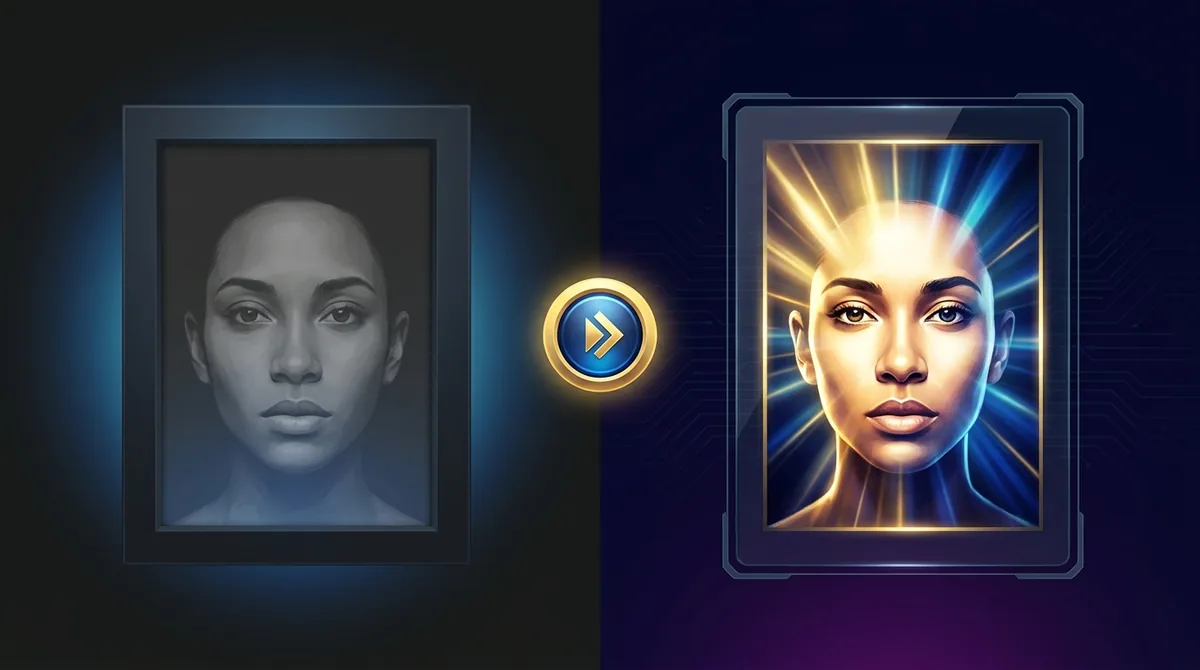
AI Image Enhancer
Improve sharpness, color balance, and lighting across the whole image. The AI image enhancer is built for landscapes, product shots, and everyday photos - for face-specific retouching, use the Portrait Enhancer.
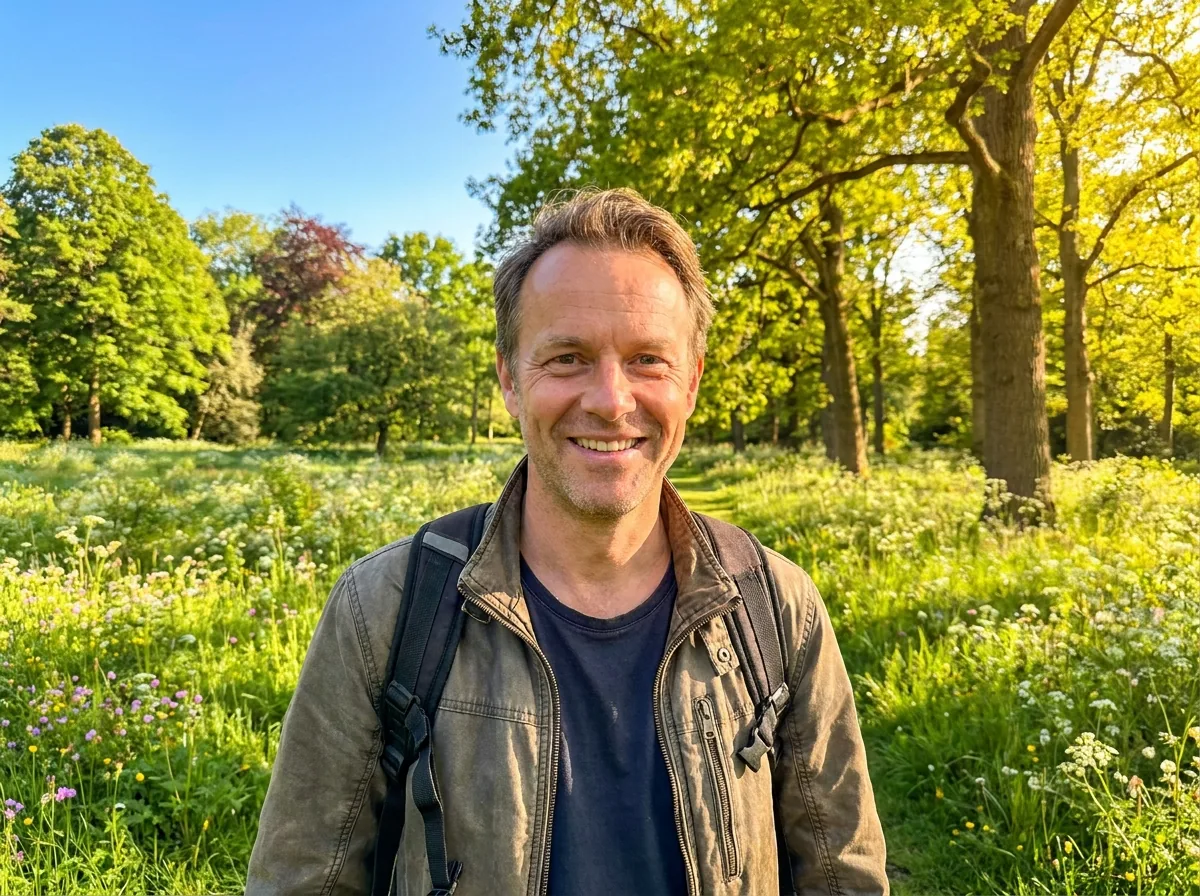
 Before
After
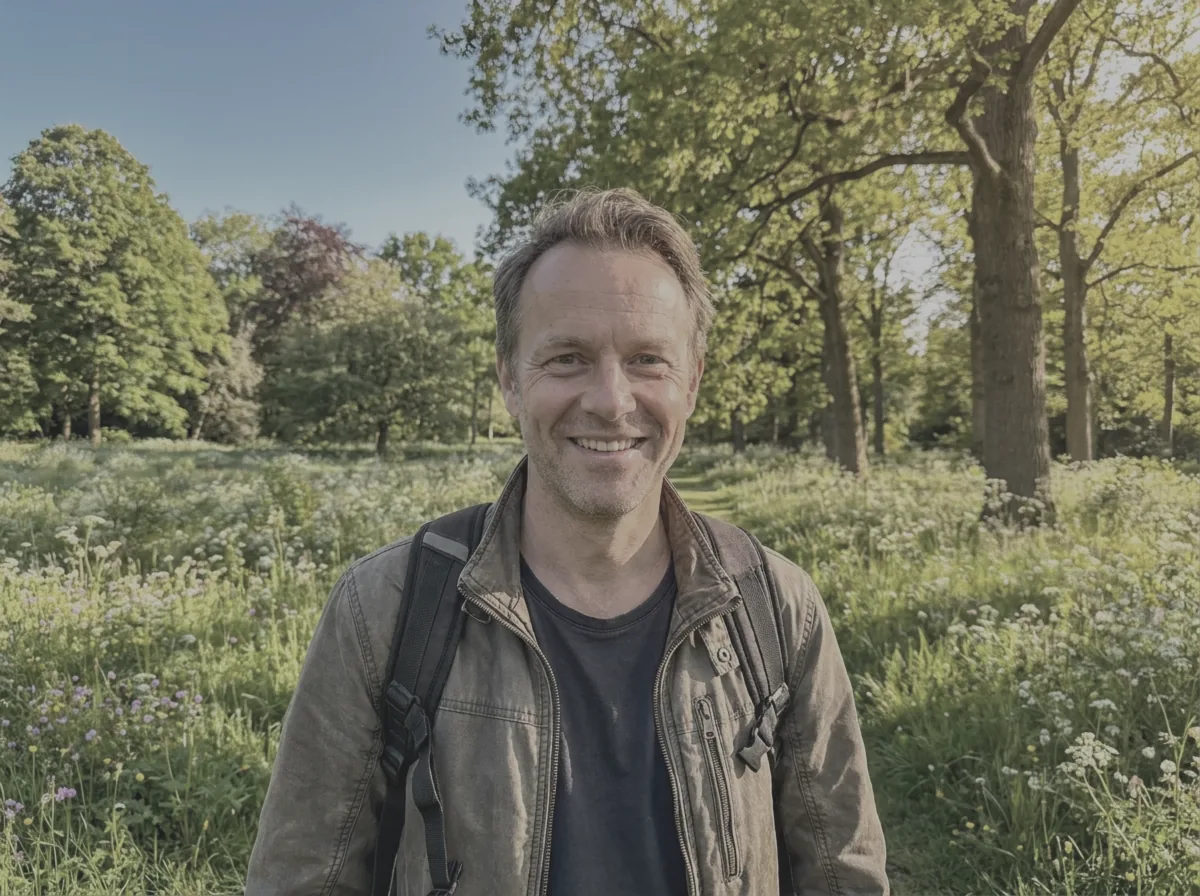
Before
After
Image Enhancer - Upload & Enhance
Click to upload or drag & drop
JPEG, PNG or WebP — max 10 MB
This tool is for creative and entertainment use only. Misuse to create deceptive or harmful content is strictly prohibited. Read our Content Policy.
How Image Enhancer Works
Upload a dull photo
Add a flat or low-quality photo you want to make pop.
AI enhances it
Lighting, contrast, color and sharpness are balanced automatically for a natural look.
Download the result
Save your brighter, sharper and more vibrant photo instantly.
One Click, Studio-Quality Photos
Most photos are a few adjustments away from looking great - They just need the right ones. Our AI enhancer analyses each image and balances exposure, contrast, white balance, color and sharpness automatically. Dull shots become punchy, flat lighting gains depth, and soft details snap into focus, all without you touching a single slider. Because the model aims for a natural result, your photo looks professionally edited rather than over-filtered.
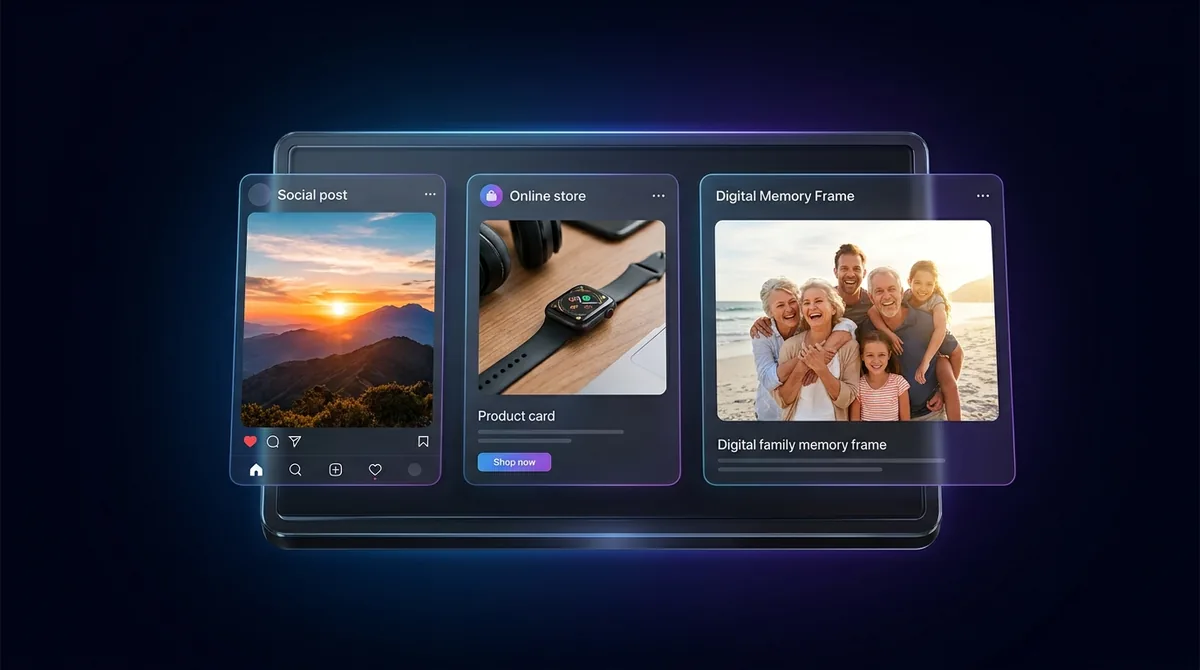
Great for Social, Stores & Memories
Make Instagram and TikTok posts pop, give e-commerce product photos a clean, consistent look that sells, or revive everyday phone snaps before sharing them with family. Content creators batch-enhance images to keep a feed looking cohesive, and small businesses use it to get crisp visuals without hiring a photo editor. Want to remove a distracting background too? Try the Background Remover.
How to Get the Best Enhancement
Feed the enhancer the highest-quality original you have - It improves a good photo far more convincingly than a tiny, blurry one. Photos with a clear subject and reasonable lighting respond best. If your image is also small or low-resolution, run it through the Image Upscaler first, then enhance, for a sharper, richer final result.
Your images stay yours
Free to use with no signup. Uploads are processed securely and removed automatically. Only use photos you own or have permission to edit.
Learn about safety →Best photos to use
- Underexposed or backlit scenes - golden-hour landscapes, dim interiors, or shots taken into a window where the sky blows out and the foreground falls into shadow.
- Flat, hazy outdoor photos with washed-out skies, weak contrast, or muddy greens that need depth and color pulled back in.
- E-commerce and catalog product shots where colors read slightly off, the subject looks soft, or lighting is uneven across the frame.
- Phone JPEGs that have been re-saved or passed through messaging apps and picked up dull color and mild softness, but are not physically damaged.
- Mixed scenes with people plus surroundings - travel snaps, group shots at events, food on a table - where the whole frame needs lifting, not just one face.
What to keep in mind
- It does not add resolution - a small or low-res file comes back roughly its original size, just better balanced, so run the Image Upscaler first if you need a larger image.
- It treats the frame as a whole and is not tuned for skin, so a face in the shot gets the same general lift as everything else, not the dedicated facial work the Portrait Enhancer does.
- It will not repair physical damage like scratches, tears, creases or large missing areas - that is restoration, not enhancement - and uploads are capped at 10 MB in JPEG, PNG or WebP.
What you get
One edited copy of your photo, roughly the same size as the file you uploaded, with rebalanced exposure, contrast, white balance, color and overall sharpness already applied. You get a finished image to download, not a layered file or a panel of adjustable sliders.
Real ways to use Image Enhancer
Reach for the Image Enhancer when the subject is a whole scene, product or landscape rather than one person's face; the Portrait Enhancer is the one tuned to skin and facial features for headshots, selfies and profile pictures. If the photo is also too small to use at the size you need, run the Image Upscaler first and enhance afterwards.